


300x1 Ribbon Guide
Most 300x1 will ship to you with ribbon and labels preinstalled. Follow this guide to understand how to replace a ribbon roll or replace a roll of labels.
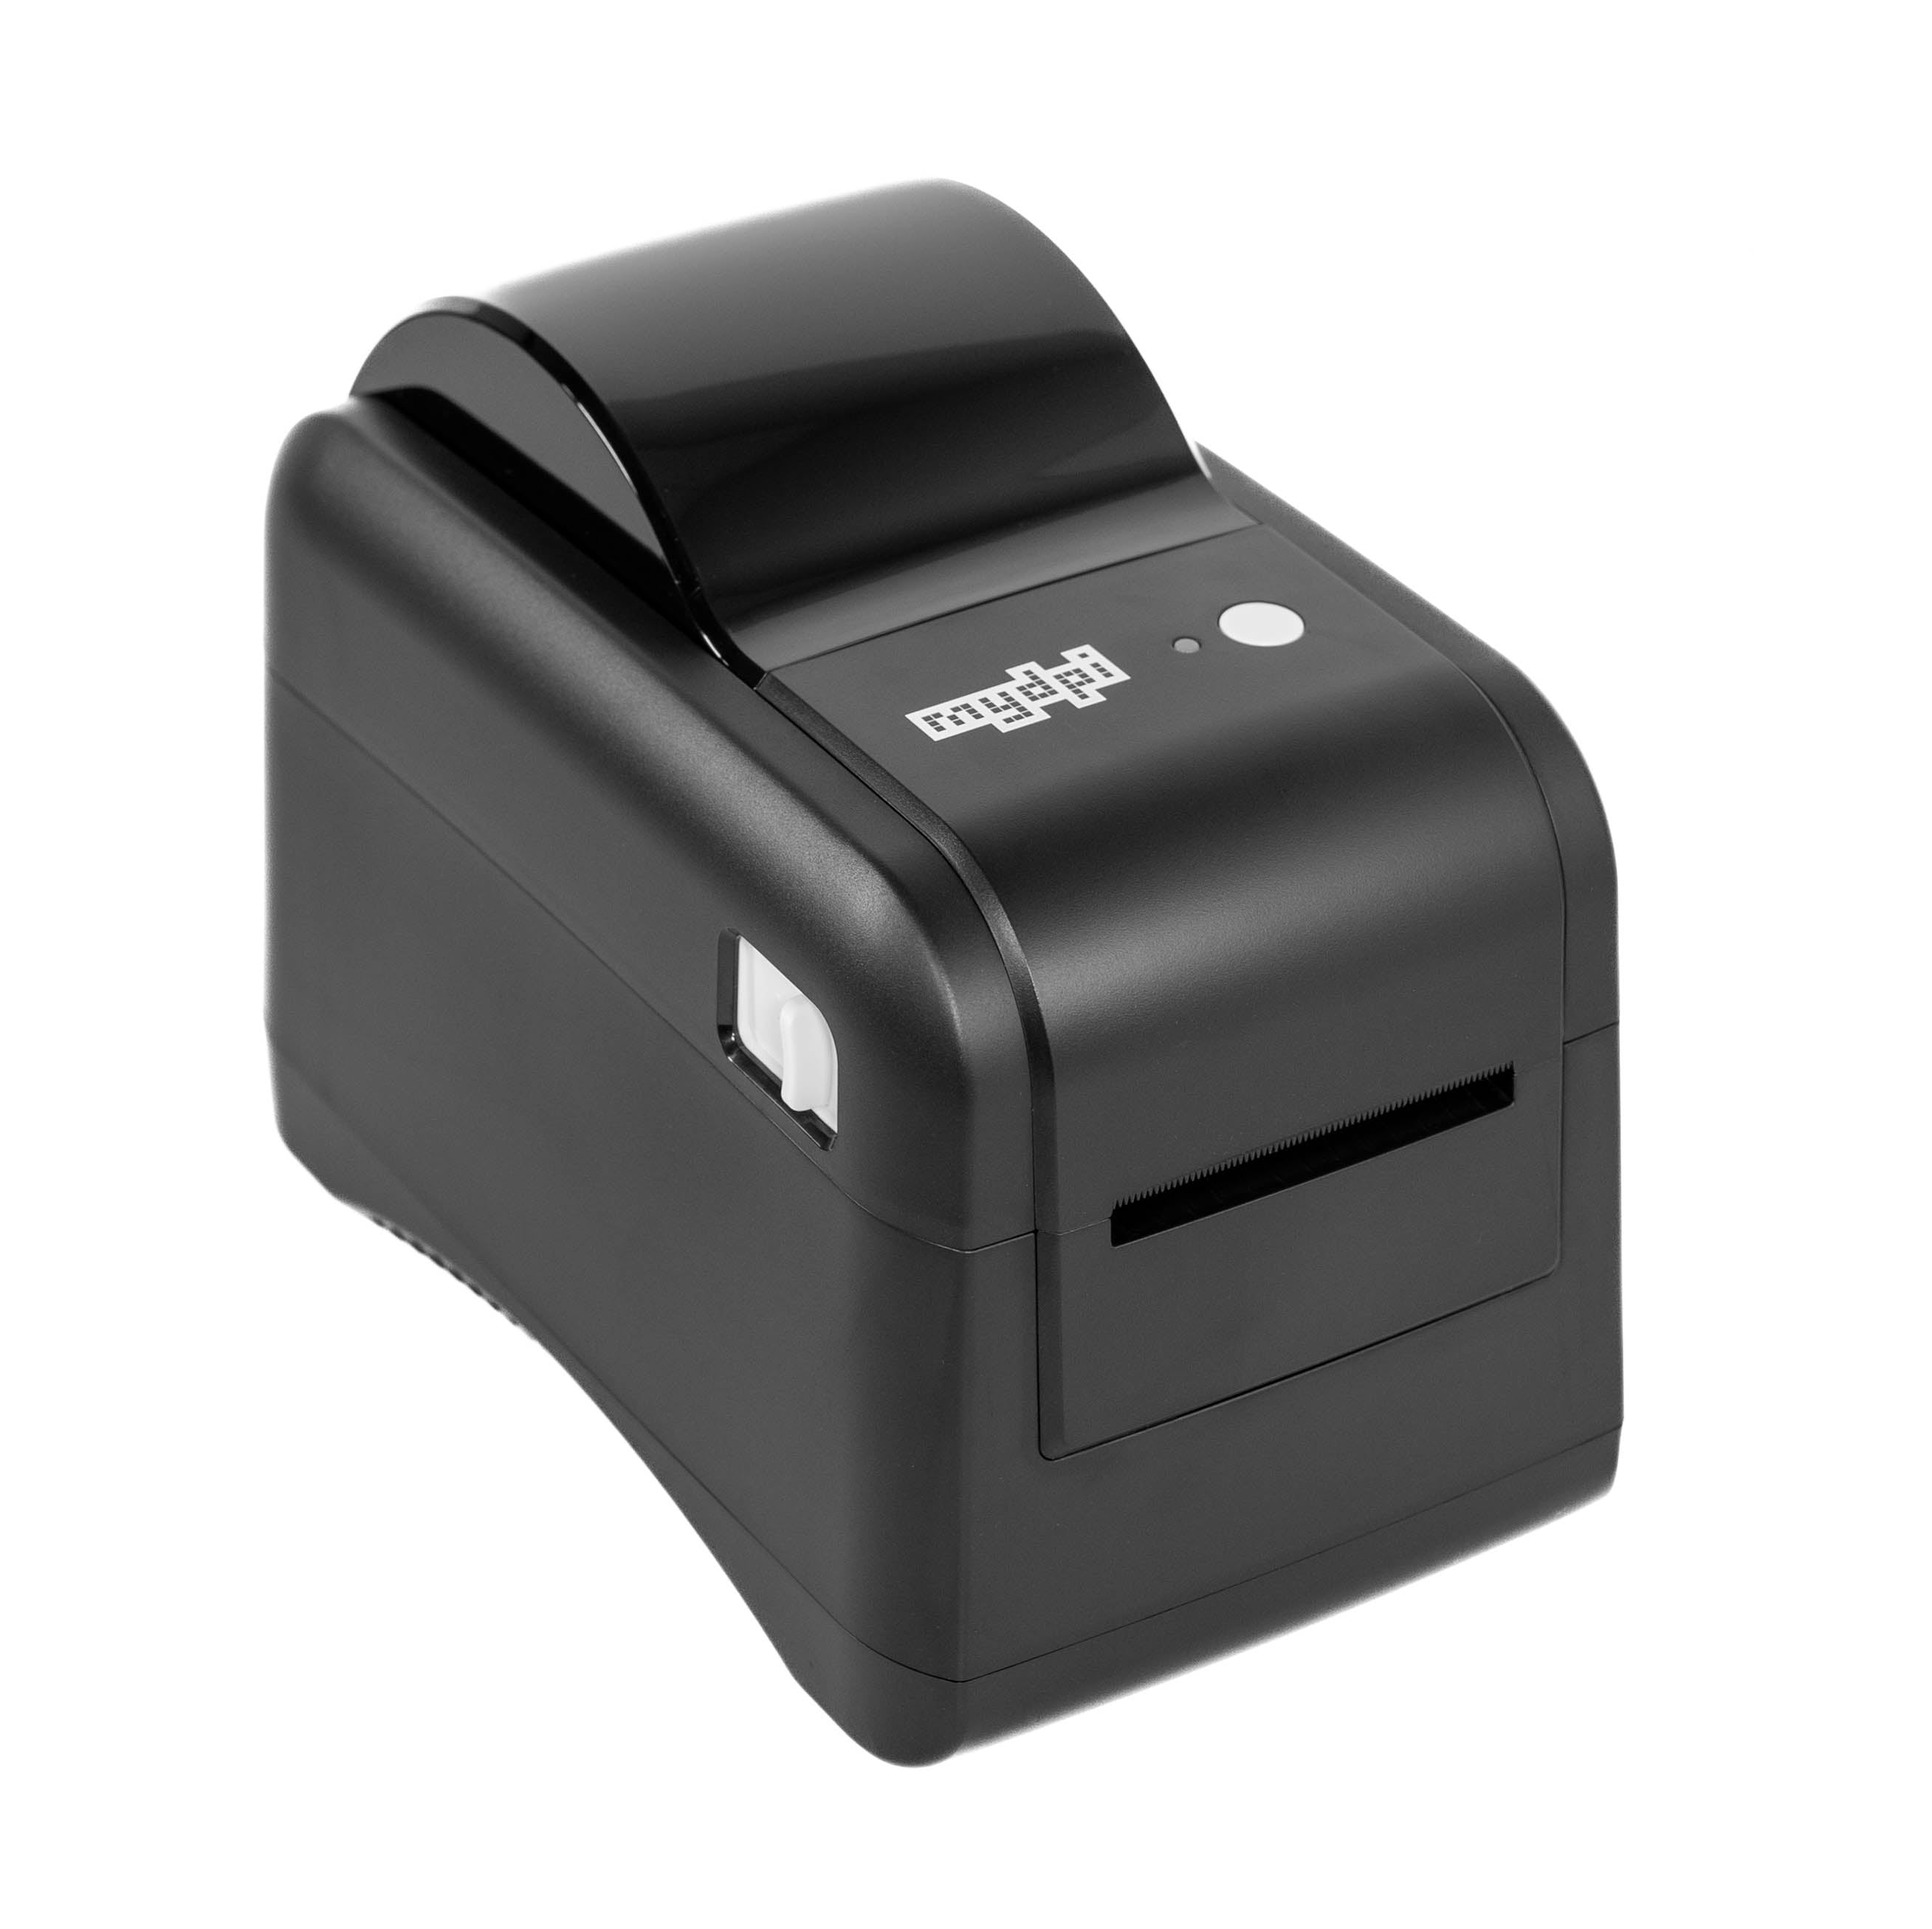
1. Open Printer
Open the printer by pulling up on both tabs on the side of the printer.

2. Open Print Head
Press on the teal button to unlock the print head.
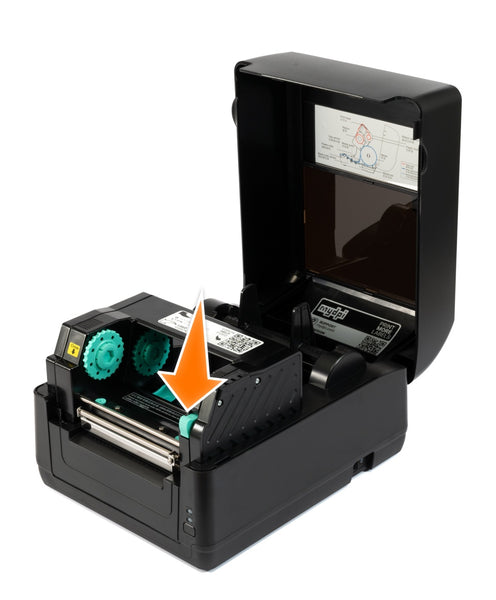
Lift the print head all the way up.

3. Load the Label Roll
If you haven't already, load the label roll on the label spindle.
- Center the roll using the fins
- Unlock the label guides and open to widest setting
- Insert paper under metal bar, guides, and teal sensor arm
- Hint: Before inserting, fold a few labels face-in so the curve is easier to direct under the metal bar
- Close the label guides until label doesn't slide left or right
- Lock the label guides
- Ensure labels travel smoothly

4. Load NEW Ribbon
Hold the NEW ribbon spool so the hex ⬣ side is on the left, pointy side to right.
Load the ribbon roll onto the NEW ribbon spool so the ribbon unrolls from the bottom.
Insert the hex ⬣ side first (left), then slide the pointy side into place (right).

5. Stick NEW Ribbon to USED Spool
Open the NEW ribbon and stick to the USED spool. If the ribbon leader is not sticky you can use a piece of tape or label.

6. Begin Winding
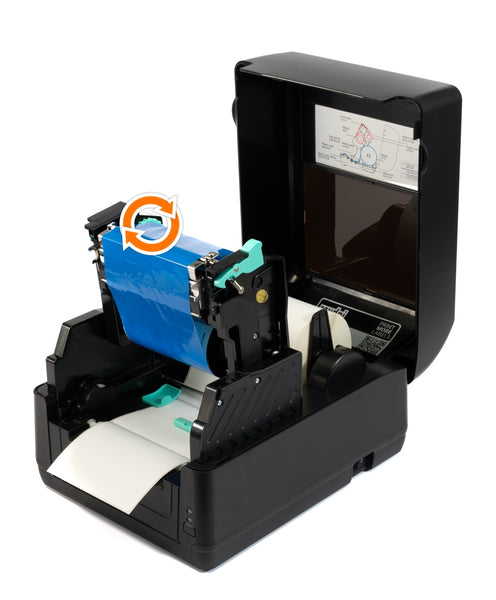
7. Continue Winding
Wind until the ribbon turns black and smooth.

8. Close Print Head
Press the print head down firmly until both sides click into place. Roll up any extra slack in the ribbon.
Tip: Ensure the ribbon covers the label area where you need to print.

9. Turn On and Calibrate
The first time you turn on a mydpi printer it will perform a calibration. This will advance ribbon. At any time you can run an automatic calibration by holding the feed button (front-bottom-right) until the printer beeps, then let go.
Each press of the feed button should eject one label.

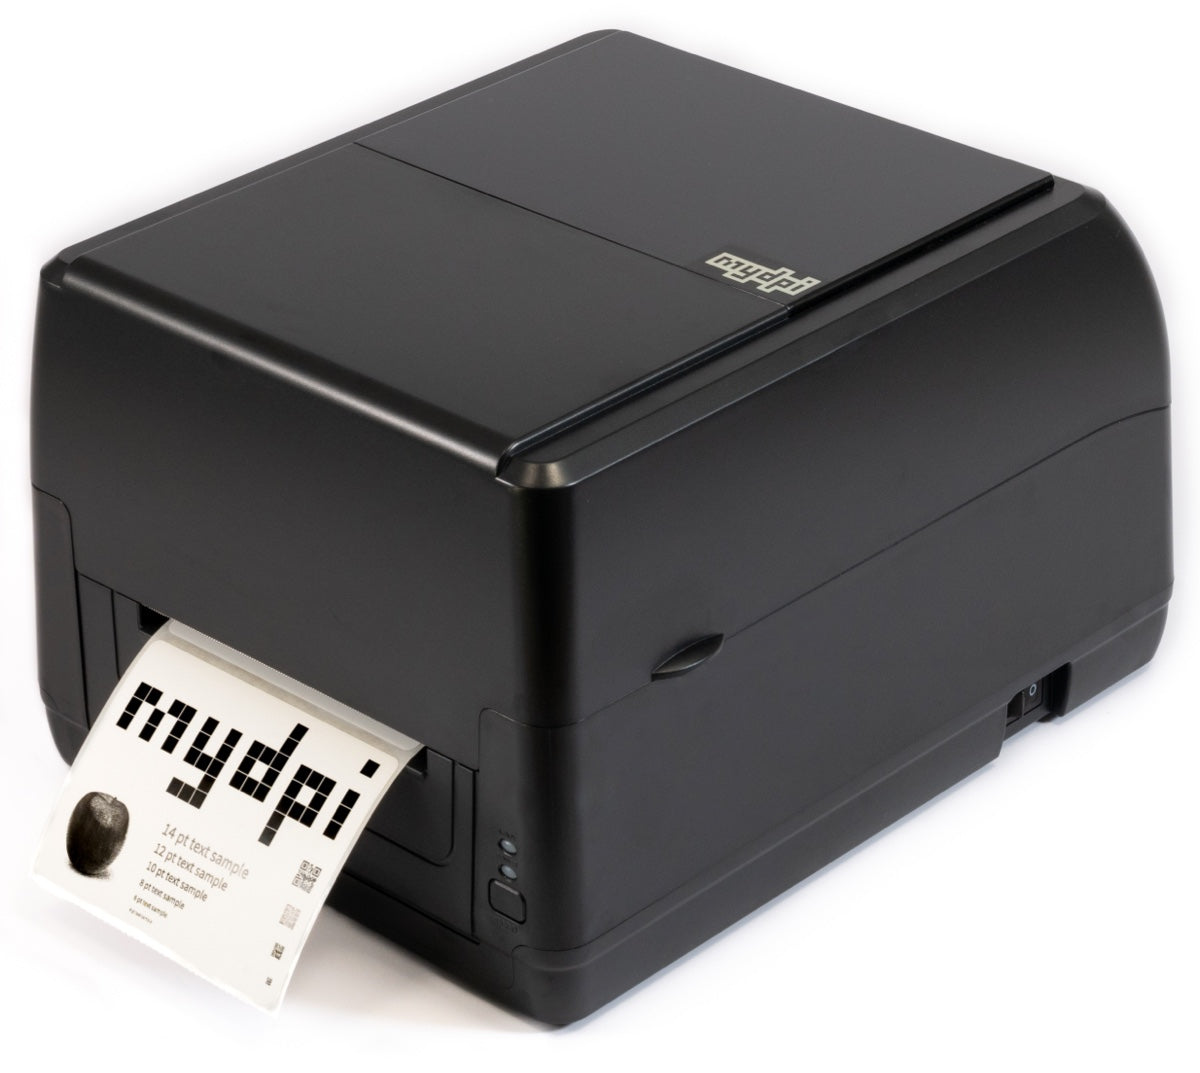
You are ready to print!